In order to bring the best business management tool possible to our customers, we have developed a fully integrated Stock Management system directly into Business Pilot! Please read our blog for all the details and handy tips on using the new feature!
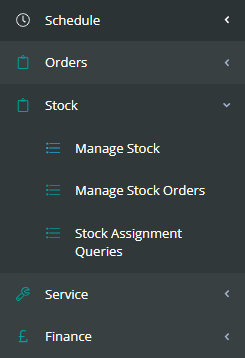
Inside Business Pilot, you’ll now spot ‘Stock’ within your main menu if you have a full licence. This heading will open a drop-down menu to include Manage Stock, Manage Stock Orders and Stock Assignment Queries. Please note that the stock system is individual and lives outside of the Purchase Orders. It can be used as a simple Stock Allocation system or tied to Nominal Codes and Job Costings for even more accurate reporting and profitability.
Here’s how to navigate through our new feature…
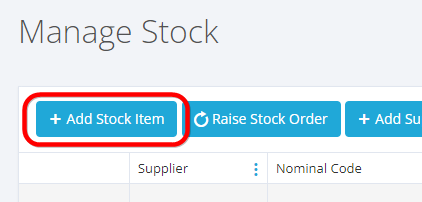
You can add any of the items & consumables you stock within ‘Manage Stock’ and create new orders from here.
To begin creating your Stocklist, please click on ‘Add Stock Item’.
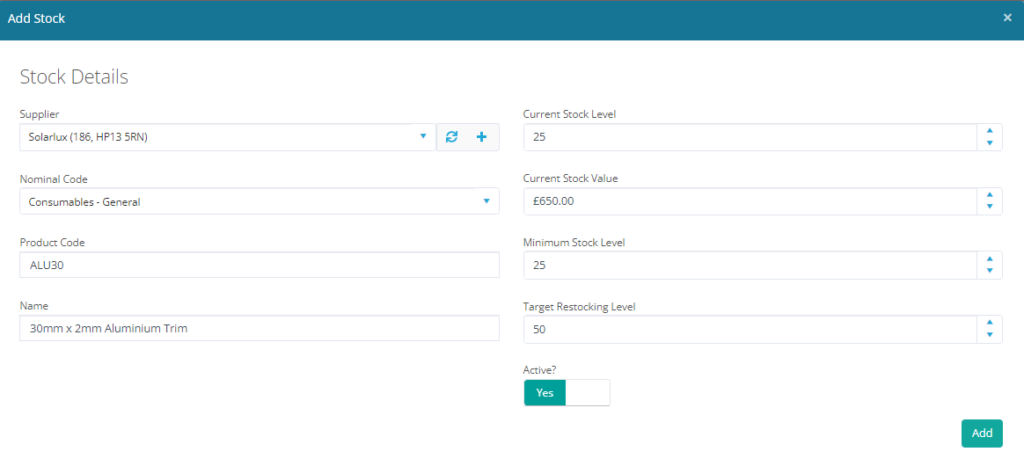
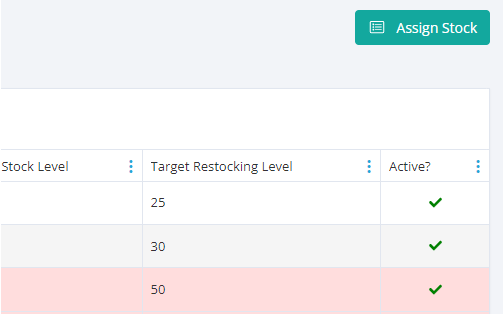
In the pop-up window, you can add the Stock Details via the relevant Supplier. You can allocate an appropriate Nominal Code for accurate reporting as well as a Product Code & Name. In addition, you can set Current Stock levels, Stock Value, Minimum Stock levels & Target Restocking levels. These will be used within the Notifications later on if you run low on any stock items.
You can add as many products/items to the list as you wish; these are then viewed in our standard grid format, which can be filtered, searched and, of course, exported!
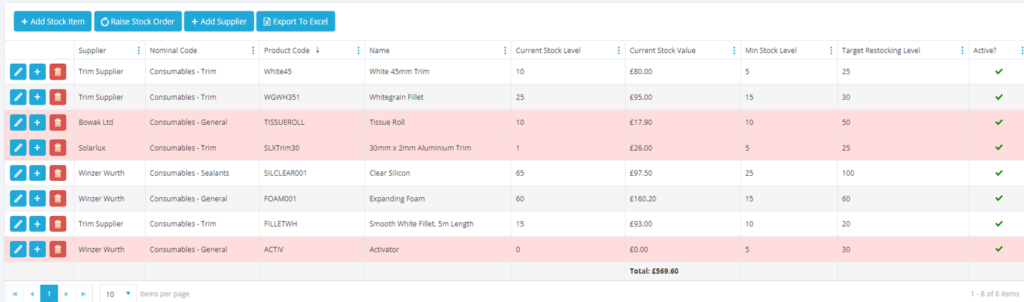
The current stock level will highlight red if your current stock level drops below your ideal minimum level, as it does if you set KPI flags in Status Progression. Again, an excellent visual guide to see which items are running low and may need an order sooner rather than later.
You can add new suppliers through this area for ease, and you’re able to export to excel to create personalised reports.
To raise an order or add more stock you can click the plus icon directly adjacent to the stock item, which will open a prepopulated form with the supplier and stock already preset.
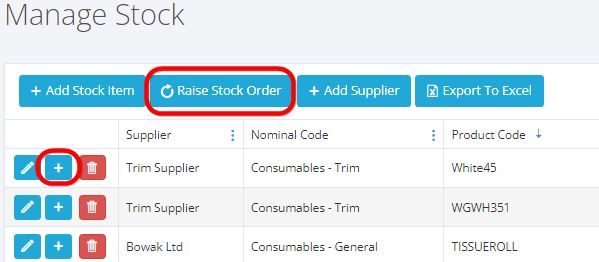
Alternatively, you can use the ‘Raise Stock Order’ at the top of the grid, which will enable you to produce an order for multiple items as you do with a typical purchase order in the system.
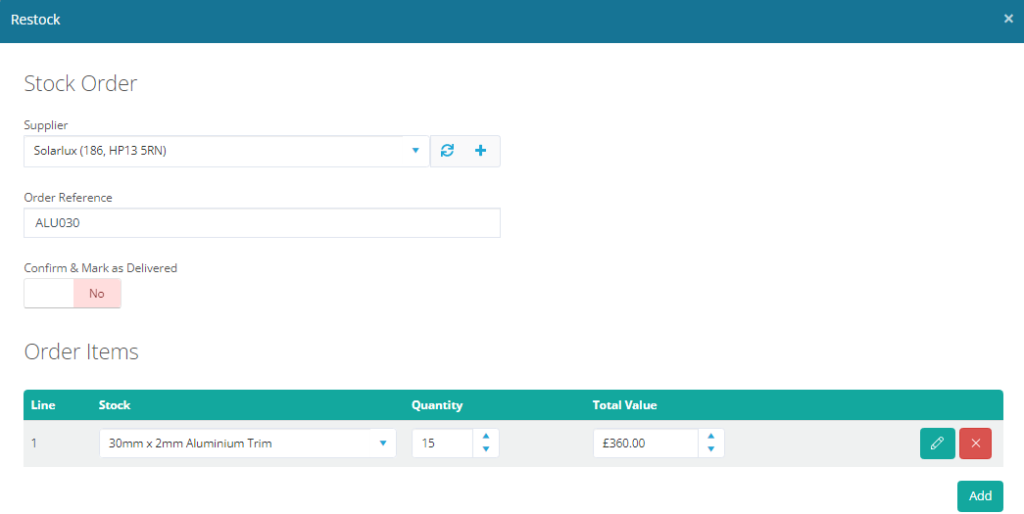
You can also manage the delivery in a similar fashion with either the Mark As Completed option or leaving the Delivery outstanding. Please note that due to the nature of stock items, we do not currently propose to manage delivery dates in the same way as main product types.
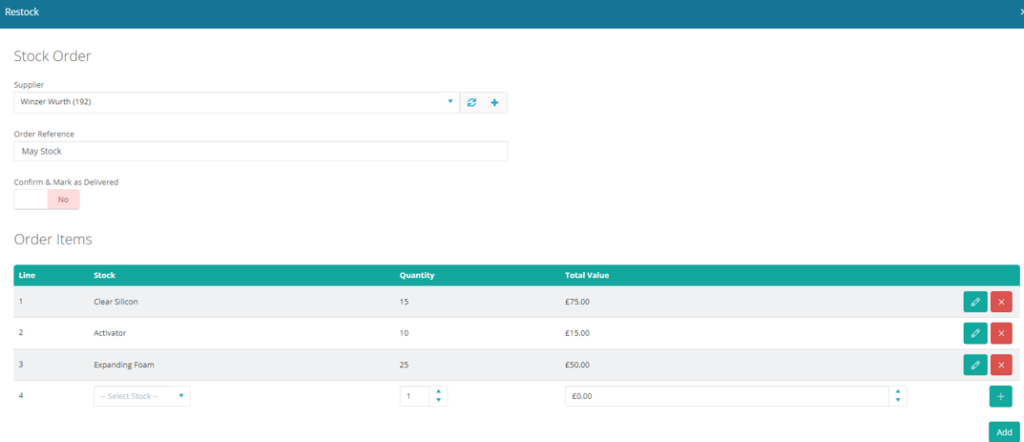
Once you select the quantity and total value of the order please click the + icon before pressing add to submit the order as you do with invoice payments and purchase orders. You can add multiple lines if required.
Alternatively, you can also add Stock Orders in the Manage Stock Orders area, where there is another +Add Stock Order icon. In this area, you will also see any raised stock orders where you can view those delivered and those awaiting delivery. There’s a tick icon where you can mark these orders as received.
The stock value works out the unit value for each item on the order and will add a job cost to the contract you’re allocating a number of stock against with the correct values at any given time. In addition, you’ll notice that you can only cancel orders not yet received in stock.
Assigning stock is a doddle, and you can do this through the Manage Stock Menu.
It works very much like the batch input for invoicing, line by line. You’ll see a button on the Manage Stock page, ‘Assign Stock’.
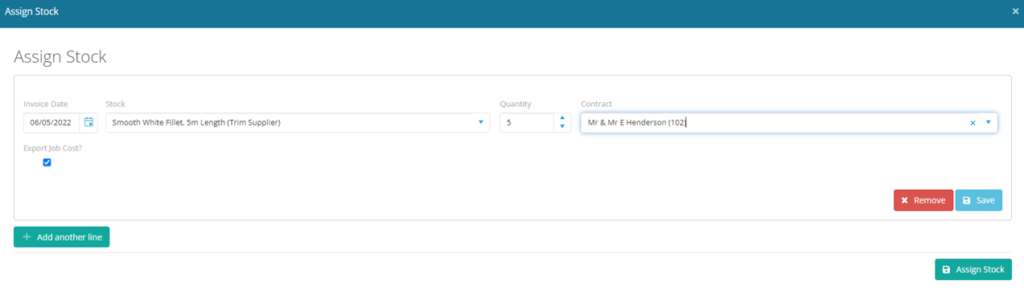
The invoice date would be the job cost date.
You will have a pre-populated drop-down of your stock items added in the stock field.
Select the quantity you’re looking to assign and enter the contract number you wish to allocate this to.
Once you press save, you’ll have another line appear where you can continue to allocate further stock to the same contract or another if desired!
You can choose whether you would like to export this as a job cost or choose to keep this solely inside the system depending on how you manage your stock orders. You can default the export to yes, or no in the admin settings to make this a smoother process. We have defaulted this to no as standard.
Similar to our purchase invoice allocation, if you have an unsuccessful allocation of your Stock, an error message will appear with the stock details which didn’t assign. The error message will let you know you do not have enough stock available for the job. If so, this will generate a Stock Assignment Query.
You can assign these with individual priority when replenished. These can be found in the ‘Stock Assignment Queries’, where it will display the quantity you needed against the quantity you had at such time.

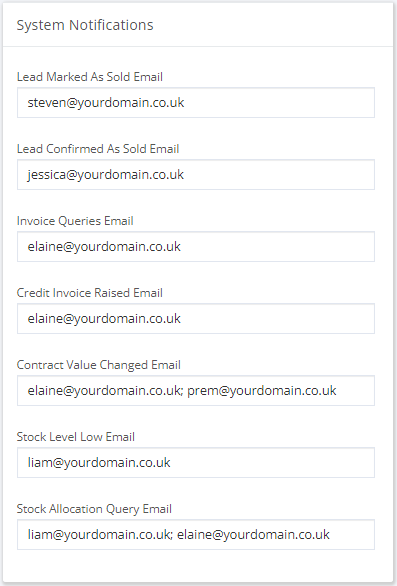
In the admin menu, under manage settings, you’ll notice a new design and a couple of new system notifications to send an email to the relevant person(s) to let them know if the stock level is low and if a stock allocation query has been raised. We will also be working on bringing these alerts into the Chat Feed Notifications. Watch this space! 😊
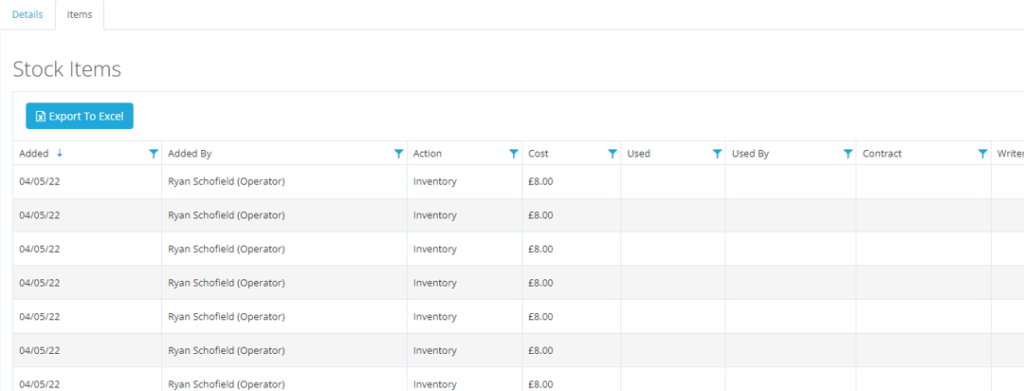
Inside Manage Stock, if you click the edit icon, you’ll have two tabs, one for details and another for items. Within the items, you’ll be able to see, in order, the items that have been allocated. You also have a write-off option if the product has become defunct, damaged, or even lost. When assigning these items to a contract, a job cost will be raised automatically.

We hope you enjoy our new stocks area, but if you would like any additional advice or training, please get in touch with our support team, who will be happy to help!
If you have any feedback, please send our team an email! We’d love to hear what you think.
Business Pilot has a continual development cycle and all new features are included within your subscription. In fact, as a user, we encourage you to ask for more! That way, we all benefit from a continually improved system.